
Maltego stands as a cornerstone tool in the arsenal of cybersecurity professionals, enabling robust data analysis and visualization through graph-based investigations. In this comprehensive guide, we’ll be mastering maltego and delve into the intricate workings of Maltego, exploring every facet from launching the application to crafting detailed graphs for investigative purposes. Let’s embark on this journey of mastering Maltego, step by step.
Launching Maltego
- Download and Install Maltego: Begin by downloading the Maltego application from the official website or authorized sources. Follow the installation instructions specific to your operating system (Windows, macOS, or Linux). For our purposes, we don’t need to install it separately as it’s already installed in Kali Linux.
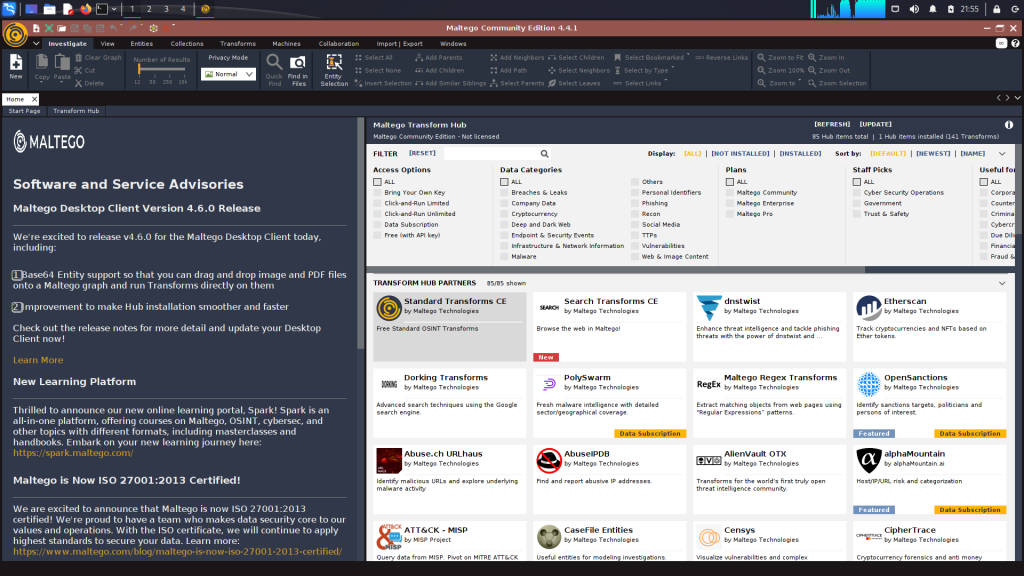
- Launching Maltego: Once installed, launch the Maltego application from your desktop or application launcher. Upon launching, you’ll be greeted by the Maltego interface, ready to initiate your investigative journey.
Understanding Maltego Interface
- Dashboard Overview: Familiarize yourself with the Maltego dashboard comprising various panels, including the Entity Palette, Graph View, and Transform Hub.
- Entity Palette: Located on the left side of the interface, the Entity Palette houses a diverse range of entities representing data points such as domains, IP addresses, persons, and organizations.
- Graph View: The central area of the interface is the Graph View, where you’ll visualize and manipulate entities and their relationships within your investigation.
- Transform Hub: Access the Transform Hub, positioned on the right side of the interface, to explore and execute transforms for extracting valuable insights from entities.
Creating Your First Maltego Graph
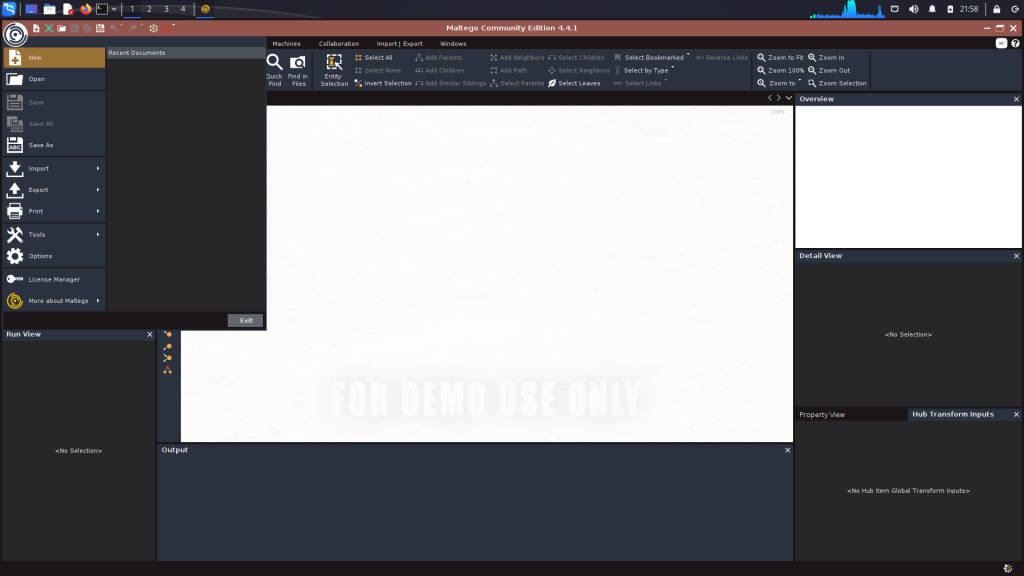
- Initiating a New Graph: Click on the “Maltego” button in the top-left corner of the interface and select “New” from the main menu. This action creates a new, blank graph for your investigation.
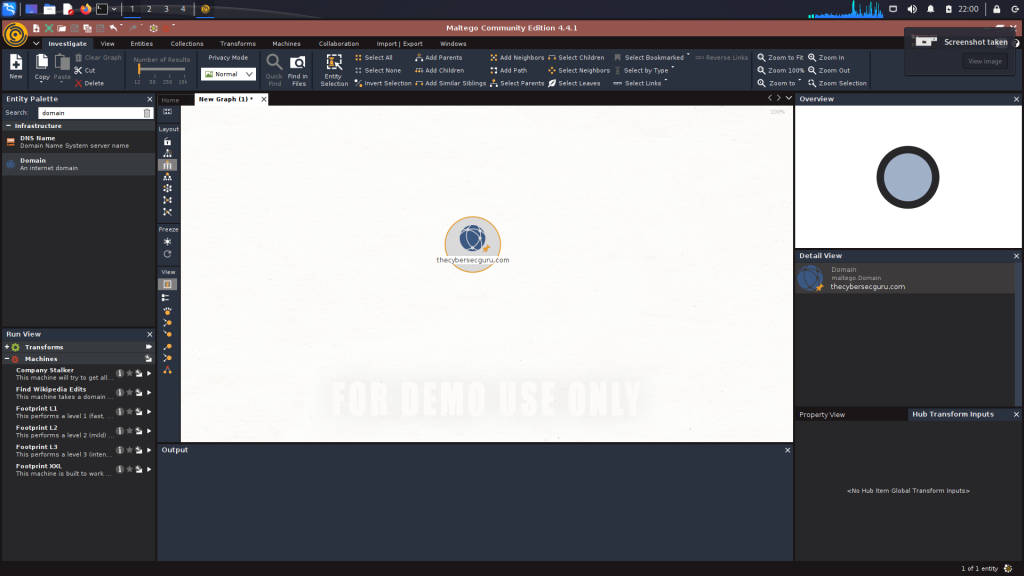
- Adding Entities to the Graph: Utilize the Entity Palette to add entities relevant to your investigation onto the graph canvas. Entities serve as the building blocks of your investigation, representing various data points of interest. In this case, we will be adding the “Domain” entity.
Leveraging Maltego Transforms
- Understanding Transforms: Transforms are powerful operations that extract, enrich, and manipulate entity data within your graph. Right-click on an entity within the graph to access available transforms for that entity.
- Executing Transforms: Choose a transform from the right-click context menu to execute on the selected entity. Transforms generate new entities and establish relationships based on the extracted information. Let us select the “To DNS Name [SecurityTrails].
![To DNS Name [SecurityTrails] Transform](https://media.thecybersecguru.com/wp-content/uploads/2024/01/image-24-1024x576.png)
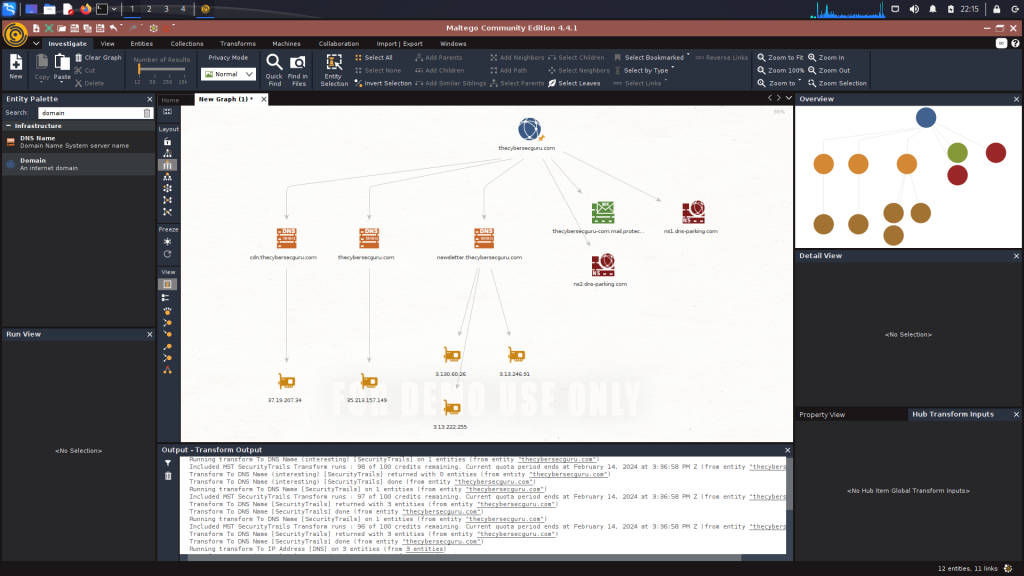
- Exploring Transform Sets: Navigate through transform sets to discover related transforms grouped under specific categories. These sets streamline the investigative process, providing targeted actions for extracting relevant data. Running the transform that we selected (DNS Name) will list down every DNS CNAME and A record associated with a particular domain.
![To DNS Name [SecurityTrails] Transform Result](https://media.thecybersecguru.com/wp-content/uploads/2024/01/image-25-1024x576.png)
- IP Lookup Transform: Next, we will be taking a look at the IP addresses associated with the DNS records. To do this, we can use the “To IP Address” Transform
![To IP Address [DNS] Transform](https://media.thecybersecguru.com/wp-content/uploads/2024/01/image-26-1024x576.png)
![To IP Address [DNS] Transform Result](https://media.thecybersecguru.com/wp-content/uploads/2024/01/image-27-1024x576.png)
Iterative Analysis and Visualization
- Iterative Investigation: Continuously analyze and expand your graph by running transforms iteratively on existing entities. Explore interconnected relationships and uncover hidden insights within your data landscape.
- Graph Visualization Techniques: Utilize graph visualization techniques such as clustering, node sizing, and color coding to enhance the readability and comprehension of your investigative graph.
Saving and Securing Your Maltego Graphs
- Saving Your Progress: Regularly save your investigative graph by selecting “Save As” from the main menu. Choose a suitable location and file format to store your graph for future reference.
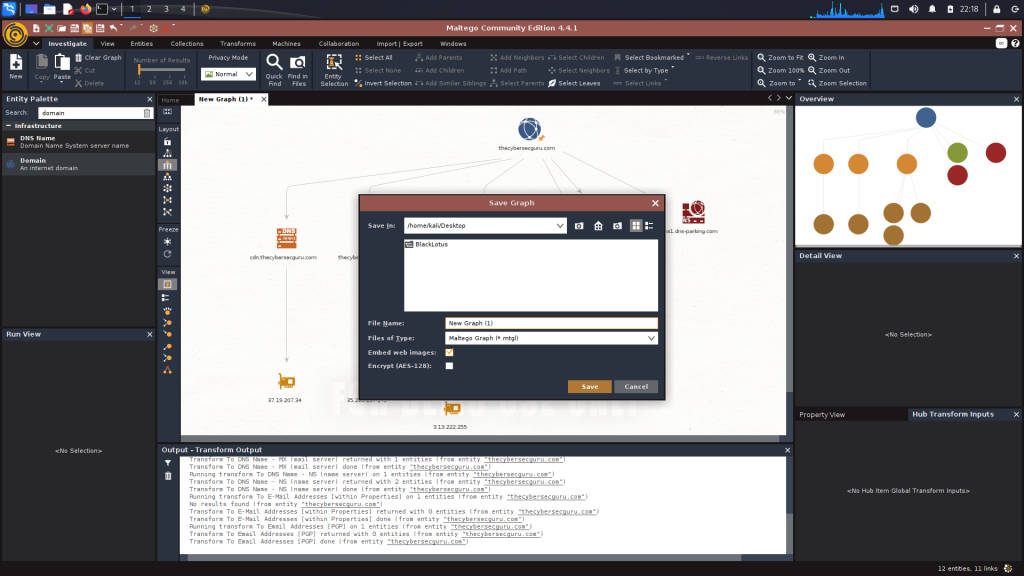
- Encrypting Graphs: Safeguard sensitive investigative data by encrypting your Maltego graphs. Select the “Encrypt” option and provide a secure password to encrypt your graph file.
Advanced Investigations with Maltego
- Exploring Advanced Features: Delve into advanced features of Maltego, including custom transforms, data integrations, and collaboration tools, to enhance the depth and breadth of your investigations.
- Leveling Up Your Skills: Continuously expand your skills and knowledge through online resources, forums, and training programs dedicated to Maltego and graph-based analysis.
Conclusion
In conclusion, mastering Maltego entails a comprehensive understanding of its interface, functionalities, and investigative methodologies. By following the detailed steps outlined in this guide, you’ll gain proficiency in crafting intricate graphs, executing transformative analyses, and deriving actionable insights from complex data landscapes. Embrace the power of Maltego as your ally in the realm of cybersecurity and intelligence gathering, and unlock a world of possibilities in your investigative pursuits.